In order to properly maintain wood floors, you need to sand them. However, when should you sand a floor?
Wood flooring may be sanded and refinished whenever the homeowner wants. Most people sand and refinish their floors when they have accumulated a lot of unsightly wear and tear. It’s also common to refinish hardwood floors during redecoration as the floors can be stained a different color.
Here are the logistics on when floors should be sanded.
How Many Times Can I Sand My Flooring?
It all depends on the thickness of the flooring and the experience of the professional working on the floors.
Most floors can be sanded around 4-6 times throughout the entire lifespan of the floor. Hardwood floors can be sanded or refinished every 7-15 years, depending on wood, preference, thickness, and wear. Some engineered wood floors may be sanded only once or twice.
Under some circumstances, it may need to be sanded in under seven years. One of the most influential factors in how long a floor can last and how many times it can be sanded/refinished is the thickness of the wood.
Floors with 1/4 inch of wood between the surface and the top of the ‘tongue’ in the tongue and groove is sufficient and allows for 4-6 resands.
When Should You Sand Floors?
In reality, deciding when it is best to sand and refinish floors is entirely based on the owner’s preference.
The big question about sanding floors is how you prefer your wooden floors to look. Are you ok with the floor looking ‘tatty’ for a bit longer, or are you wanting a fresh, brand-new look? Whatever your preference is will determine whether or not to resand your floors.
The older and more traditional antique-style wooden floors will have much more wear and tear on them.
In many cases, well-done wood flooring can last for hundreds of years. If this is the kind of wooden floor you want, don’t refinish your flooring and allow the gradual damage and wear to add to the room’s aesthetic.
However, this will be different for those that prefer a more modern and striking appearance in the color and state of wood flooring. Most homeowners don’t recognize the change in their hardwood flooring over time because it happens so gradually, especially in rooms that are exposed to direct sunlight.
The UV rays will change the color of the flooring to a paler (and uglier) version of your floors.
New marks, scratches, and indents will be made as time passes from regular foot traffic, moving furniture, and other regular living activities. An excitable dog will increase the wear on a hardwood floor exponentially.
Other examples of damage to the floors that would elicit refinishing include water damage, significant scratches, dents or gouges, fading or discoloration from UV rays, or stains that don’t remove.
Properly protected floors can even get ruined in just 18 months and must be refinished.
Dance floors, especially, can get hammered after just a few months. Consider this when opening a new dance studio or other places where wear and tear may be high.

How to Sand Wood Floors
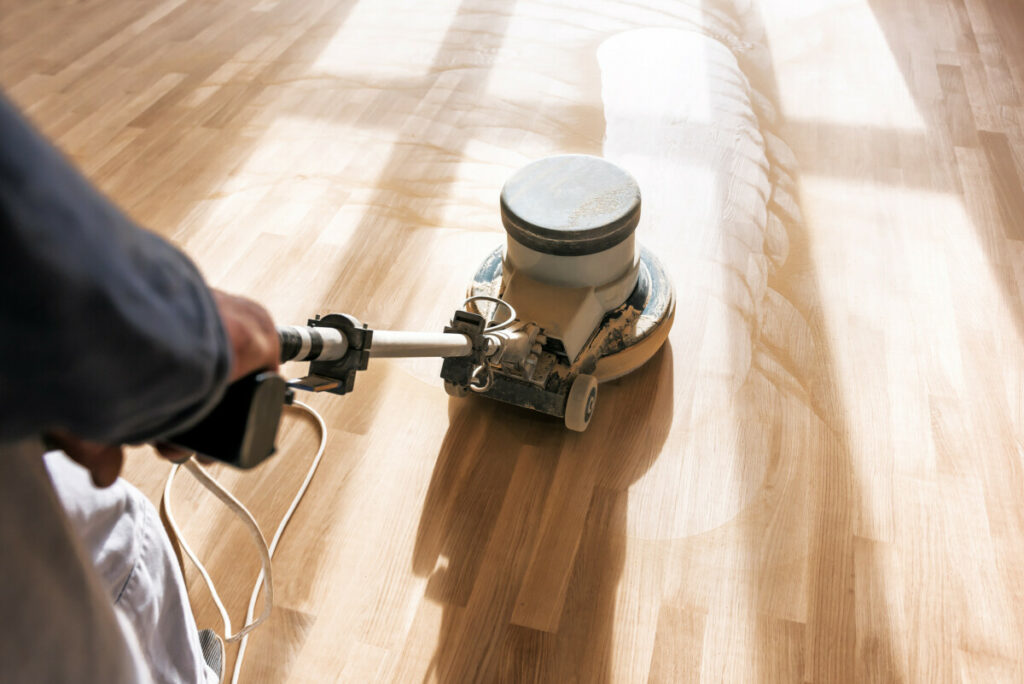
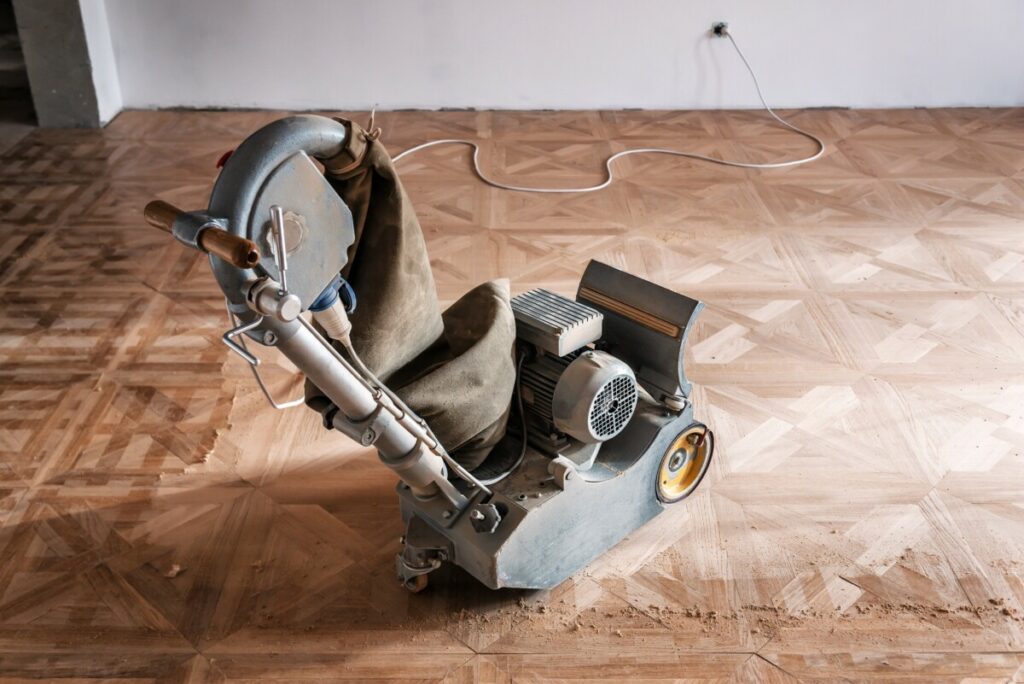
If you wish to sand or refinish your solid flooring, you will need an electric floor sander, sandpaper, or a synthetic brush. It is also important to consider the type of sander you are using.
Consider the type of sandpaper used. Sandpaper grits for wood floors range from 16 to 150 grit. The more damage there is to the wood, the more work must be done for the grit to suffice. When sanding most floors, it requires 30 grit to start, adjusting when needed to achieve a smoother finish depending on the type of wood you are working with.
Steps for sanding your floors.
- Screw or countersink any nails sticking out of the wood to prevent damage to the sandpaper (and a rougher surface).
- Start sanding the wooden floors with coarse-grit sandpaper. Start sanding in the middle of the room until you reach the edges of the flooring. Keep the speed of the sandpaper constant so that the level of sanding is even throughout the floor.
- Sand around the edges of the floor using an edge sander
- Repeat the sanding process using progressively finer sandpaper. Use 100 or 120 for your final sanding grit.
- After sanding, the finish should be ready to be applied to the flooring. Find the stain of your choice and apply it to the floor.
- Apply the finish of your choice to your flooring. For sealing purposes, it is best to use a medium-pile microfiber roller. For stains, it would be best to use a brush and rags. Look at your product to determine what kind of tool would be best for the job.
- After applying the coat, it needs to dry for several hours (2 to 3). Sand wood flooring with a light grit should have a grit of 150 to smooth the flooring out.
- Remove any leftover dust and apply a thin layer of varnish at the end of the process. Let the floors sit for 12 hours to let everything dry and settle enough for furniture and walking to be appropriate.
Common Floor Sanding Mistakes
Using the Wrong Grit Sandpaper
The right form of sandpaper must be used to sand the flooring. If the flooring has been sanded previously, it may only need light sanding to finish the job. If the flooring has never been sanded, you will need a coarser sandpaper to do it right.
Not Sanding Enough
Sanding floors correctly requires lots of effort since years of wear and tear need to be removed. In this case, it is easy to not sand the floors enough. When you start sanding, you will see a big difference in the floor, but this isn’t enough to call it done.
Once you get down to the nitty-gritty of the sanding process, the floors will need to be sanded until the floors are considered completely flat. The grooves in the wood should be eliminated when sanding the floors. All of the marks and shadows should be completely removed.
Not Sanding Diagonally
Avoid the mistake of sanding in the wrong direction. Sanding floors in the right direction will make the sanding process faster without struggling to reach certain areas of the floor.


We have 24 year old solid hardwood floors that need refinishing in some sections. We need new solid hardwood floors in other rooms that we want sanded and finished to the high quality level asl the existing floors (oil based polyurethane).
Thank you for your information.
We are trying to decide if we should try to tackle this ourselves.
I believe in you!